
Essential Fly Fishing Knots

Mastering the art of fly fishing isn't just about the perfect cast or the right fly—it's about the knots that hold it all together.Whether you're a seasoned angler or just starting out, understanding and tying the right knots can make or break your day on the water. Let's dive into the essential fly fishing knots that every angler should have in their arsenal.
Essential Fly Fishing Knots Every Angler Should Know
1. Arbor Knot – Securing Backing to the Reel
The Arbor Knot is your starting point, anchoring your backing line to the reel. It's straightforward and ensures your line stays put when that trophy trout makes a run.
How to Tie:
Wrap the line around the reel arbor.
Tie an overhand knot around the standing line.
Tie a second overhand knot in the tag end.
Slide both knots down to the arbor and tighten.
2. Nail Knot – Connecting Backing to Fly Line or Leader
The Nail Knot offers a smooth, streamlined connection between lines of different diameters, ensuring seamless casting and retrieval.
How to Tie:
Place a nail or tube against the fly line.
Wrap the leader around the fly line and nail 6–8 times.
Insert the tag end through the tube and remove the tube.
Tighten the knot and trim the excess.
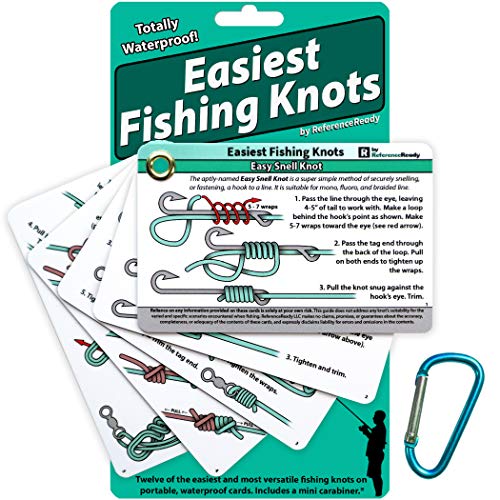
3. Improved Clinch Knot – Attaching Fly to Leader or Tippet
A go-to knot for many anglers, the Improved Clinch Knot is reliable and easy to tie, making it ideal for securing flies to your line.
How to Tie:
Thread the line through the hook eye.
Wrap the tag end around the standing line 5–7 times.
Pass the tag end through the loop near the hook eye.
Moisten and tighten the knot, then trim the excess.
4. Perfection Loop – Creating a Loop at the Leader's End
The Perfection Loop is perfect for creating a clean, strong loop at the end of your leader, facilitating easy fly changes.
How to Tie:
Form a loop by doubling back the line.
Make a second loop by bringing the tag end behind the first loop.
Pass the tag end between the two loops.
Pull the second loop through the first and tighten.
5. Blood Knot – Joining Two Lines
Ideal for connecting sections of tippet or leader, the Blood Knot maintains strength and ensures a smooth transition between lines.
How to Tie:
Overlap the ends of two lines.
Wrap one tag end around the other line 5 times and tuck it between the lines.
Repeat with the other tag end.
Moisten and pull both standing lines to tighten.
6. Surgeon's Knot – Quick and Easy Line Connection
The Surgeon's Knot is a simple and effective way to join two lines, especially when they differ in diameter.
How to Tie:
Overlap the two lines.
Tie an overhand knot with both lines.
Pass the ends through the loop again.
Moisten and tighten the knot.

7. Double Surgeon's Loop – Forming a Strong Loop
This knot creates a robust loop at the end of your line, useful for loop-to-loop connections.
How to Tie:
Double the line to form a loop.
Tie an overhand knot with the loop.
Pass the loop through the knot again.
Moisten and tighten the knot.
8. Loop-to-Loop Connection – Quick Line Changes
This method allows for fast and efficient changes between leaders and lines using loops.
How to Tie:
Pass the loop of the leader through the loop of the fly line.
Pass the end of the leader (with the fly) through its own loop.
Pull tight to secure the connection.
9. Non-Slip Loop Knot – Allowing Fly Movement
This knot creates a loop that doesn't slip, giving your fly more natural movement in the water.
How to Tie:
Tie an overhand knot in the line.
Pass the tag end through the hook eye.
Return the tag end through the overhand knot.
Wrap the tag end around the standing line 4–5 times.
Pass the tag end back through the overhand knot.
Moisten and tighten the knot.
10. San Diego Jam Knot – Strong Terminal Connection
Known for its strength, the San Diego Jam Knot is excellent for securing hooks, lures, or swivels.
How to Tie:
Pass the line through the hook eye and double it back.
Wrap the tag end around the double line 5 times.
Pass the tag end through the loop near the hook eye.
Then pass it through the loop formed by the wraps.
Moisten and tighten the knot.
FAQs
Why are specific knots important in fly fishing?
Different knots serve unique purposes, such as connecting lines of varying diameters, creating loops, or securing flies. Using the right knot ensures strength, efficiency, and better presentation.
How can I practice tying these knots effectively?
Use larger ropes or cords to practice the knots initially. Visual aids like diagrams or videos can also help. Regular practice will build muscle memory.
Which knot is best for attaching a fly to the leader?
The Improved Clinch Knot is widely used for this purpose due to its reliability and ease of tying.
Can I use the same knot for all connections?
While some knots are versatile, it's best to use specific knots tailored to each connection for optimal strength and performance.
How do I ensure my knots are strong and won't slip?
Always moisten knots before tightening to reduce friction. Ensure each knot is tied correctly and pulled tight. Regularly inspect knots for wear or slippage.
Are there tools to help tie complex knots like the Nail Knot?
Yes, tools like the Nail Knot tool can assist in tying complex knots more easily and consistently.
Related: Fly Rod Weights Explained
// Related Posts About Fly Fishing


